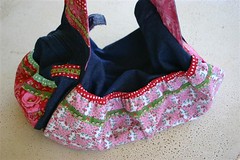
Oh boy.
This is one of those projects that I loved and hated at the same time
(and that was making it up only after the English translation became available)
It has taken me the best part of 2 days sewing,
a bit of modification,
a touch of backpedalling,
a lot of "oh, boys"
(and a few other words that can't be printed in a G rated blog)
and the complete and utter neglect of my family and household.
Luckily I adore the finished product.
Bear with me. Lots of photos.
Because it is such a detailed bag.
And just because I can.
(I worked damn hard and I want to show it off.
So there!)
Side of bag
Side of bag
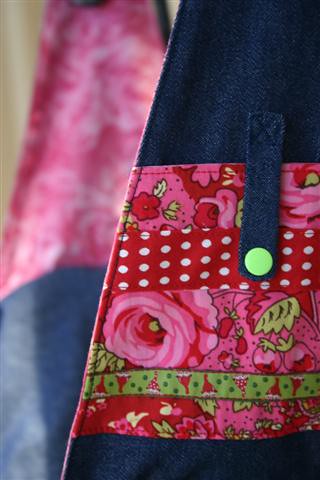
Detail of side pockets
The pattern puts full pockets on each side but I don't own that much stuff
so I put external pockets on one side and ribbon/iron on velours on the other side.
Media pocket on strap
Not that I even know what an iPod is...
One end pocket (circular)
Other end pocket (zipper pocket and gathered pocket)
Inner lining with pocket
Inner bag seams enclosed with bias binding
Best I can do without a photographer older than 2 and 1/2!
So the verdict?
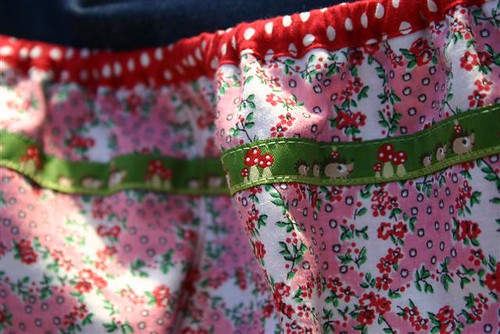
I adore the final result of this bag. I finally cut some of my treasured Stenzo and used a lot of Farbenmix ribbon that has been lovingly stashed for a couple of years. I have always looked at the Farbenmix outfits and wondered at the amount of decoration that comes together. But really, once you start you can't stop!
The online tute of words and pictures is invaluable if you aren't multilingual.
A couple of hardships were due to my vagueness. Like cutting the bag body out on a fold line when it wasn't a fold line. That would have been useful if I had wanted to carry the kitchen sink around.
I had a couple of issues that I am not sure if they were just me or not. I will modify this is I find that they seem to be a repeatable problem for those using the pattern.
The pattern calls for one short and one long zip. You actually need two short zips if you are going to do an internal zippered pocket (I didn't have the 2nd zip and didn't care so I snapped that pocket)
Nancy also designed this with a short strap so that the bag would sit under the arm for better security but I lengthened the straps as that is too short for me. Mine sits on the hip.
The tab on the end of the zip is funky but it would have been a lot easier if the zip had just been placed within the body of the bag and I certainly would have obtained a neater finish.
My big disappointment was the inside finish. No one's fault there. I was so ecstatic with the result of the external bag that when it came to sewing on the ends and enclosing the seams in bias binding I just couldn't get a perfect finish and that bugs me! Given the amount of stuff that can be piled into the bag, however, no one will ever see them so I can live with that.
All in all, it is an awesome bag. A great opportunity to mix and match fabrics and to modify the design to suit your needs. Takes time and is a challenge but well worth the final result!


10 comments:
I''m exhausted just thinking about making one but I agree the finished product makes it worth while. And hooray for cutting up the Stenzo! I enjoy using mine more than admiring fabric on the shelf.
Love the tunic too btw
So totally fabulous Tas!! I think I need to learn to drink before starting it though, sounds like a stiff one is needed part way :D
Looks fantastic Tas, well worth the effort! I have ordered the pattern but I think I'll be waiting a while before attempting it - it will probably take me a month to finish!!
It's gorgeous, it looks difficult but I think it's beautiful and functional! I'd love to make one.. eventually!
Wow you did an amazing job on this it looks fabulous and your ribbon and fabric choices are grogeous!
great job Tas - it looks very professional. Love the mixmatch of fabrics and trim - looks very professional.
Great bag, love all that gorgeous ribbon!
wowzas - what an amazing job you have done.
Very interesting! Great work!
thats really stunning! have you used it yet?
Post a Comment